The default app launchers for Mixed Reality applications built in Unity is a flat image - essentially a splash screen on a floating rectangle.
I’m sure we can have better immersion than a bunch of 2d panels around the place.
The good news is, Windows Mixed Reality supports this, and have a guide on how to do it - so you can easily turn it into this:
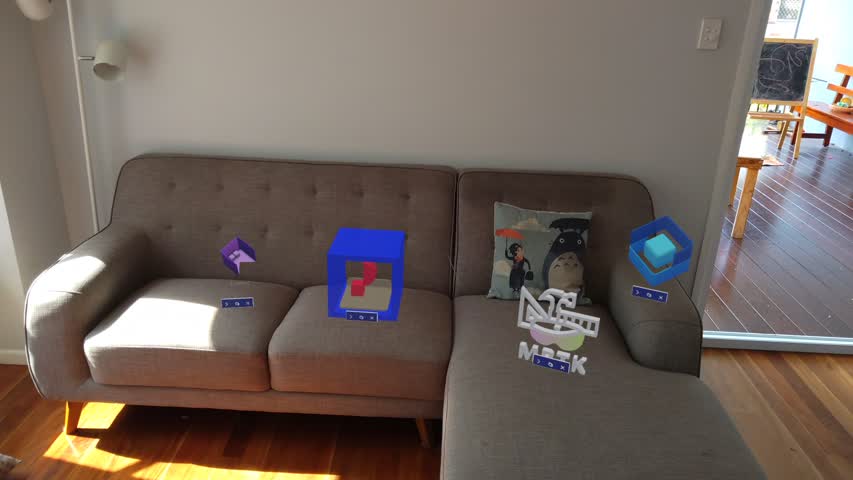
Isn’t that much nicer? Grab the gist and use it in Unity straight away, or read on for usage.
Status quo
To add a 3D app launcher to your Unity normally requires a few steps.
- Create your 3d model, export as GLB
- Build your UWP project
- Copy it into the
Assets/folder - Update your project file and Package.appxmanifest to reference your new model.
I didn’t think this was very repeatable - especially since the guidance is to not check in your build folder (good advice, follow it).
Usage
I’ve automated the steps above into a little script, so now it’s simply
- Copy the
MixedReality3dAppLauncher.csscript into anEditor/folder of your scripts - Save your app launcher to
Assets/app-icon.glb - Build your project
That’s it! Your app launcher will be included in the project, appxmanifest, and copied across when you build. Or you can manually patch it by going to UWP Tools/Patch manifest and project.
Enjoy!